Setting up a printer on a Mac can seem daunting, especially if you’re new to the mac OS ecosystem. However, Apple has streamlined the process, making it user-friendly and efficient. Whether you’ve just unboxed a new printer or are trying to reconnect an old one, this guide will walk you through the steps to install a printer in mac OS. We’ll also cover some common troubleshooting tips and how to optimize your printer’s performance on your Mac.
Understanding Printer Compatibility with mac OS
Before diving into the installation process, it’s essential to ensure that your printer is compatible with mac OS. Most modern printers are, but it’s always a good idea to double-check the manufacturer’s website for compatibility information. Some older printers might require specific drivers or software updates, which you can usually find on the printer’s support page.
How to Install Printer in mac OS
- Unbox and Power On: Start by unboxing your printer, connecting it to a power source, and turning it on. Make sure the printer is set up according to the manufacturer’s instructions, including loading paper and ink or toner.
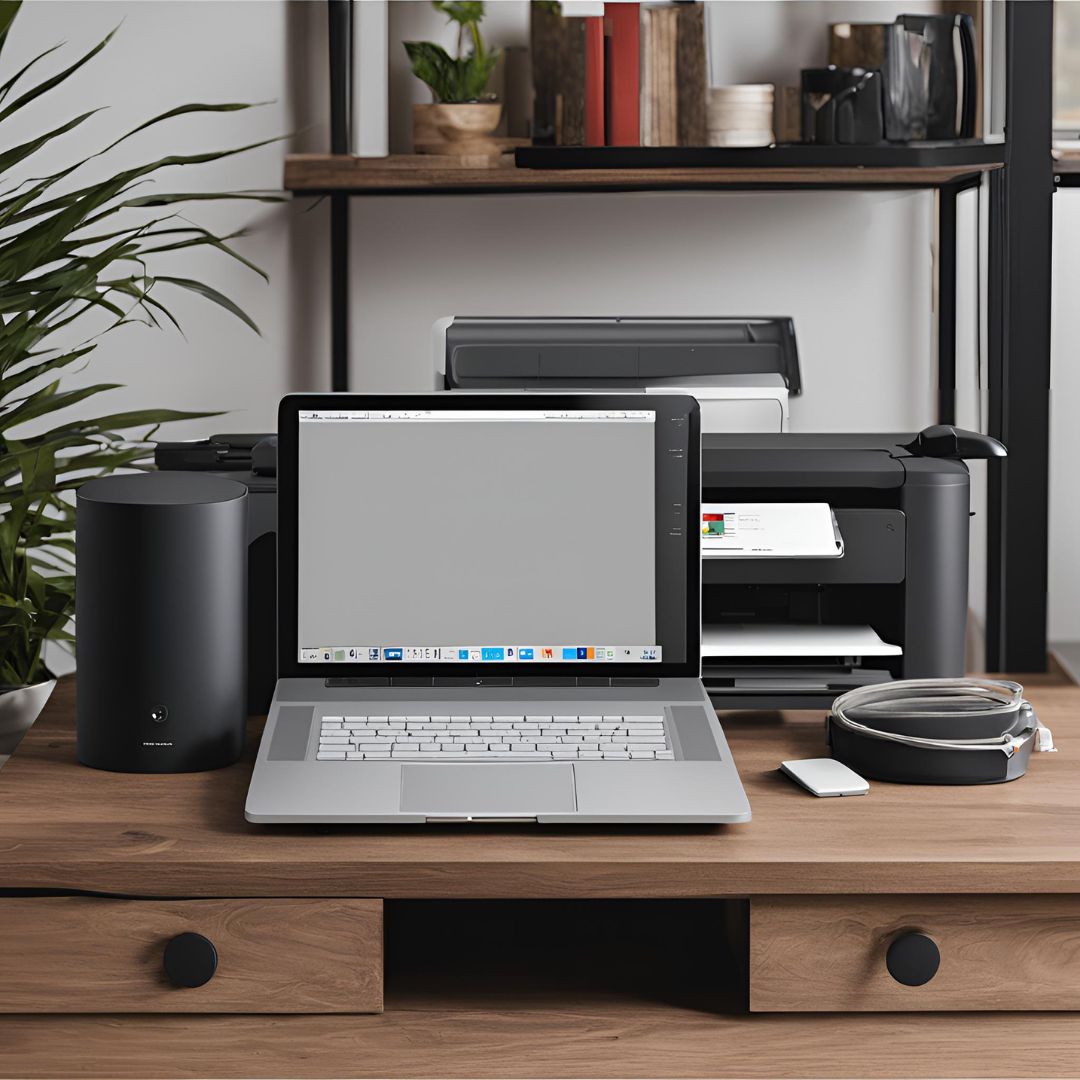
- Connect the Printer to Your Mac:
- Wireless Connection: If your printer is wireless, make sure it’s connected to the same Wi-Fi network as your Mac. Most printers will have a built-in setup wizard that guides you through connecting to Wi-Fi.
- Wired Connection: For wired printers, connect the printer to your Mac using a USB cable. mac OS will usually recognize the printer automatically and prompt you to install any necessary drivers.
- Add the Printer to Your Mac:
- Open System Settings: Click on the Apple logo in the top-left corner of your screen and select “System Settings” from the drop-down menu.
- Go to Printers & Scanners: Within the System Settings window, locate and select “Printers & Scanners.” Here, you’ll see a list of all printers that are currently connected to your Mac.
- Add a New Printer: To connect a new printer, click the “+” icon. This will allow you to search for and add your printer. mac OS will search for available printers. Once your printer appears in the list, select it, and click “Add.” mac OS may prompt you to download and install additional software, such as printer drivers.
- Complete the Installation: Once the printer is added, you should see it listed in the Printers & Scanners section. You can now print a test page to ensure everything is working correctly. If the test page prints successfully, your printer is ready to use with any application on your Mac.
How Do You Add a Printer to a Mac?
Adding a printer to a Mac is a straightforward process, but sometimes things don’t go as planned. If you’re having trouble adding your printer, here are a few troubleshooting tips:
- Check the Connection: Ensure that your printer is properly connected to your Mac, either via USB or Wi-Fi. If it’s a wireless printer, make sure both the printer and your Mac are on the same network.
- Update mac OS: Sometimes, your Mac may need a software update to recognize the printer. Go to Go to System Settings > Software Update: Check for any available updates and install them to ensure your macOS is up to date.
- Manually Download Drivers: You need to visit website to download and install them manually if installation not start itself.
- Reset the Printing System: If all else fails, you can reset the printing system by right-clicking in the Printers & Scanners window and selecting “Reset printing system.” This action will remove all printers from your Mac, allowing you to start the installation process from scratch.
How to Add Printer to MacBook
Adding a printer to a MacBook follows the same steps as any other Mac device, but there are a few considerations specific to MacBooks:
- Wireless Printing: Since MacBooks are often used on the go, wireless printing is typically the most convenient optionMake sure your printer is connected to the same Wi-Fi network as your MacBook.
- Portable Printers: If you frequently print on the go, you might want to invest in a portable printer compatible with mac OS. These printers are designed to be lightweight and compact, making them ideal for travel.
- Use of AirPrint: Many modern printers support AirPrint, a feature built into mac OS that allows you to print from your MacBook without needing to install additional drivers. If your printer supports AirPrint, it will appear automatically in the list of available printers when you click the “+” button in the Printers & Scanners window.
Optimizing Printer Performance on mac OS
After you’ve successfully installed your printer, there are several ways to optimize its performance and ensure it runs smoothly on your Mac:
- Regularly Update Drivers: Printer manufacturers frequently release driver updates to improve compatibility and performance. Regularly check the manufacturer’s website or use mac OS’s built-in software update feature to keep your printer drivers up to date.
- Use High-Quality Paper and Ink: The quality of your prints can be significantly affected by the type of paper and ink you use. Invest in high-quality materials to get the best results from your printer.
- Calibrate Your Printer: Calibrating your printer ensures that the colors in your prints match what you see on your screen. Most printers come with built-in calibration tools, or you can use third-party software for more precise calibration.
- Monitor Ink Levels: mac OS allows you to monitor your printer’s ink levels from the Printers & Scanners section. Keeping an eye on these levels will help you avoid running out of ink in the middle of an important print job.
Troubleshooting Common Printer Issues
Even with a well-optimized setup, you may encounter occasional issues with your printer. Typical issues and their solutions:
- Printer Not Responding: If your printer isn’t responding, first check the connection. Ensure the printer is turned on and properly connected to your Mac. Restarting both your Mac and printer can also resolve many issues.
- Print Jobs Stuck in Queue: Sometimes, print jobs get stuck in the queue and don’t print. You can clear the print queue by going to the Printers & Scanners section, selecting your printer, and clicking “Open Print Queue.” From here, you can cancel or restart print jobs.
- Poor Print Quality: If your prints are coming out with streaks, smudges, or faded colors, it might be time to clean the print head. Many printers come equipped with a built-in cleaning function, which you can access directly from the printer’s menu.
Conclusion
Installing a printer in mac OS is a relatively simple process, whether you’re adding a new printer or reconnecting an existing one. By following the steps outlined in this guide, you can ensure that your printer is properly set up and optimized for use with your Mac. Remember to keep your printer drivers updated, use high-quality materials, and troubleshoot any issues as they arise to maintain optimal printing performance. Now that you know how to install printer in mac OS, you’re ready to tackle any printing tasks with confidence.